
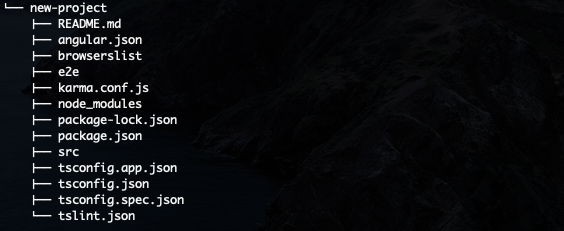
Once you set up an application with Angular CLI you end up with a directory full of files. This said to be a perfectly working application.
README.md
Usually, we do not read readme or even delete it after setting up the project, but to be honest, this time it is pretty wise to read it all up loud. Why? Cause it is only 28 lines long and provides all the necessary commands to start your work.
It tells you how to run the server and where to look for your project. The Angular server is typically set up to the 4200 port. You can still change it if you wish, but that would be covered in the other paragraph.
Besides running a server, you can run some tests. That is another tip from the README.md file. Besides that, you will also be learned how to build the project.
angular.json
The CLI configuration defaults are kept there. Those relate to building, serving, and testing.
package.json
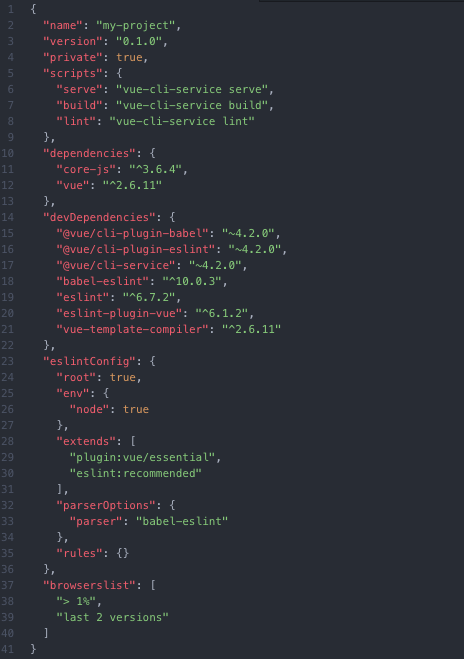
If you already know what npm is you can basically stop reading there and move to the next file, but if you are not familiar with them and packages sound rather exotic you need to know one thing now. This file tells your application what other projects it has to use to run correctly.
This is how the file looks for our new project.
To keep this article short I will cover the details of the file in another post. At this point, you need to know that this file is a base for the package-lock.json file described below.
package-lock.json
This file is based on what we already have in the package.json file. However, if you want to lock your dependencies it is said that you should create a package-lock.json file and as the Angular team describes the new project as ‘following their best practices’ you get this file as well.
If you’d like to check what it is in the file you can spot that it is extremely bigger than the package.json file. It happens as it has to have a full dependency description (dependency tree, versions) for each of the dependencies. That are many dependencies, right? You bet! Each of the dependencies can (and usually have) other dependencies so the tree grows really big and complex.
You also need to know that a project can run without package-lock.json but won’t without the package.json file.
node_modules directory
If you are already familiar with the good old package.json you also know that you need to have the node_modules directory. This is the place where all the dependencies from package.json are kept. This actually can be the heaviest directory in your project – at least at the beginning of the coding journey.
tslint.json
The tslint itself stands for a TypeScript linter. It is used to check if your TypeScript syntax is correct it not only shows syntax errors (which is something a typical browser would also do) but it also analyses your code and tells you if you are using the right rules. This tells us that the tslint.json is a configuration file for the linter.
tsconfig.json
We can already say that this is also a configuration file but this time it related to the TypeScript itself. It specifies the compiler rules. This file also indicates where the root folder is.
If you want to learn more about the TypeScript config file I recommend reading the TypeScript tutorial posted here https://www.typescriptlang.org/docs/handbook/tsconfig-json.html
e2e directory
That is an end-to-end test directory. If you do not intend to run or create tests you can skip this file.
karma.conf.js
That is also a file associated with testing. Karma is used to run unit tests.
src directory
This is the place that you should focus on as that’s the directory of your project. When you start coding you should only alter files inside this directory.
Summing up
If you think that this is too much I recommend consider creating w brand new project without the test. You can read more about it in my other post http://angular-awesome-components.com/2020/02/15/running-an-angular-project-on-minimal/ .